How to Use and Troubleshoot the Equalizer Hydraulic Leveling System
The Equalizer hydraulic leveling system is a powerful and reliable setup found in many motorhomes, fifth wheels, and larger travel trailers. It uses four or six hydraulic jacks (front landing gear and rear stabilizers) controlled by a central pump and reservoir, giving you stable, level positioning even on uneven campsites. When operated correctly, it makes setup quick and secure, eliminating the need for blocks, ramps, or manual cranking on most sites. When issues arise — jacks not responding, uneven leveling, low fluid warnings, or error lights — knowing how to troubleshoot and recalibrate can save your trip and prevent costly service calls.
This comprehensive guide covers everything: system overview, keypad functions and indicator lights, step-by-step auto and manual leveling, retract procedures, orientation reprogramming, zero point calibration (including the critical ignition reset step), hydraulic fluid maintenance, electrical checks, common faults and fixes, preventive care, safety tips, and expanded FAQs drawn from real owner experiences in 2026. Proper use, regular fluid checks, and occasional recalibration keep your Equalizer system dependable season after season.
At Great American RV SuperStores, we service Equalizer systems weekly. Most problems trace back to low battery voltage, skipped calibration steps, low hydraulic fluid, or simple user errors — all preventable with the right knowledge.
Hey Happy Campers! Todd here with Great American RV SuperStores.
Today we’re walking through how to operate, calibrate, and troubleshoot your Equalizer Hydraulic Leveling System — from powering on the keypad to mastering auto level, manual adjustments, retract procedures, recalibrating zero point with the full ignition reset procedure, checking hydraulic fluid, electrical diagnostics, avoiding common errors, preventive maintenance, and answers to the questions we hear most often from owners.
If you’d prefer a step-by-step visual demo, check out the full walkthrough on the Great American RV YouTube channel in our Hap’s Helpful Hacks playlist.
Let’s get your RV level and stable every time!
System Overview: Key Components and How It Works
The Equalizer system uses hydraulic fluid pressure to extend and retract jacks. Major components:
- Hydraulic Pump & Reservoir — Usually in a front or side compartment; contains fluid and pump motor.
- Jacks — 4 or 6 (2 front landing gear, 2–4 rear stabilizers), each with a hydraulic cylinder.
- Control Module — Brain of the system; receives inputs from keypad and sensors.
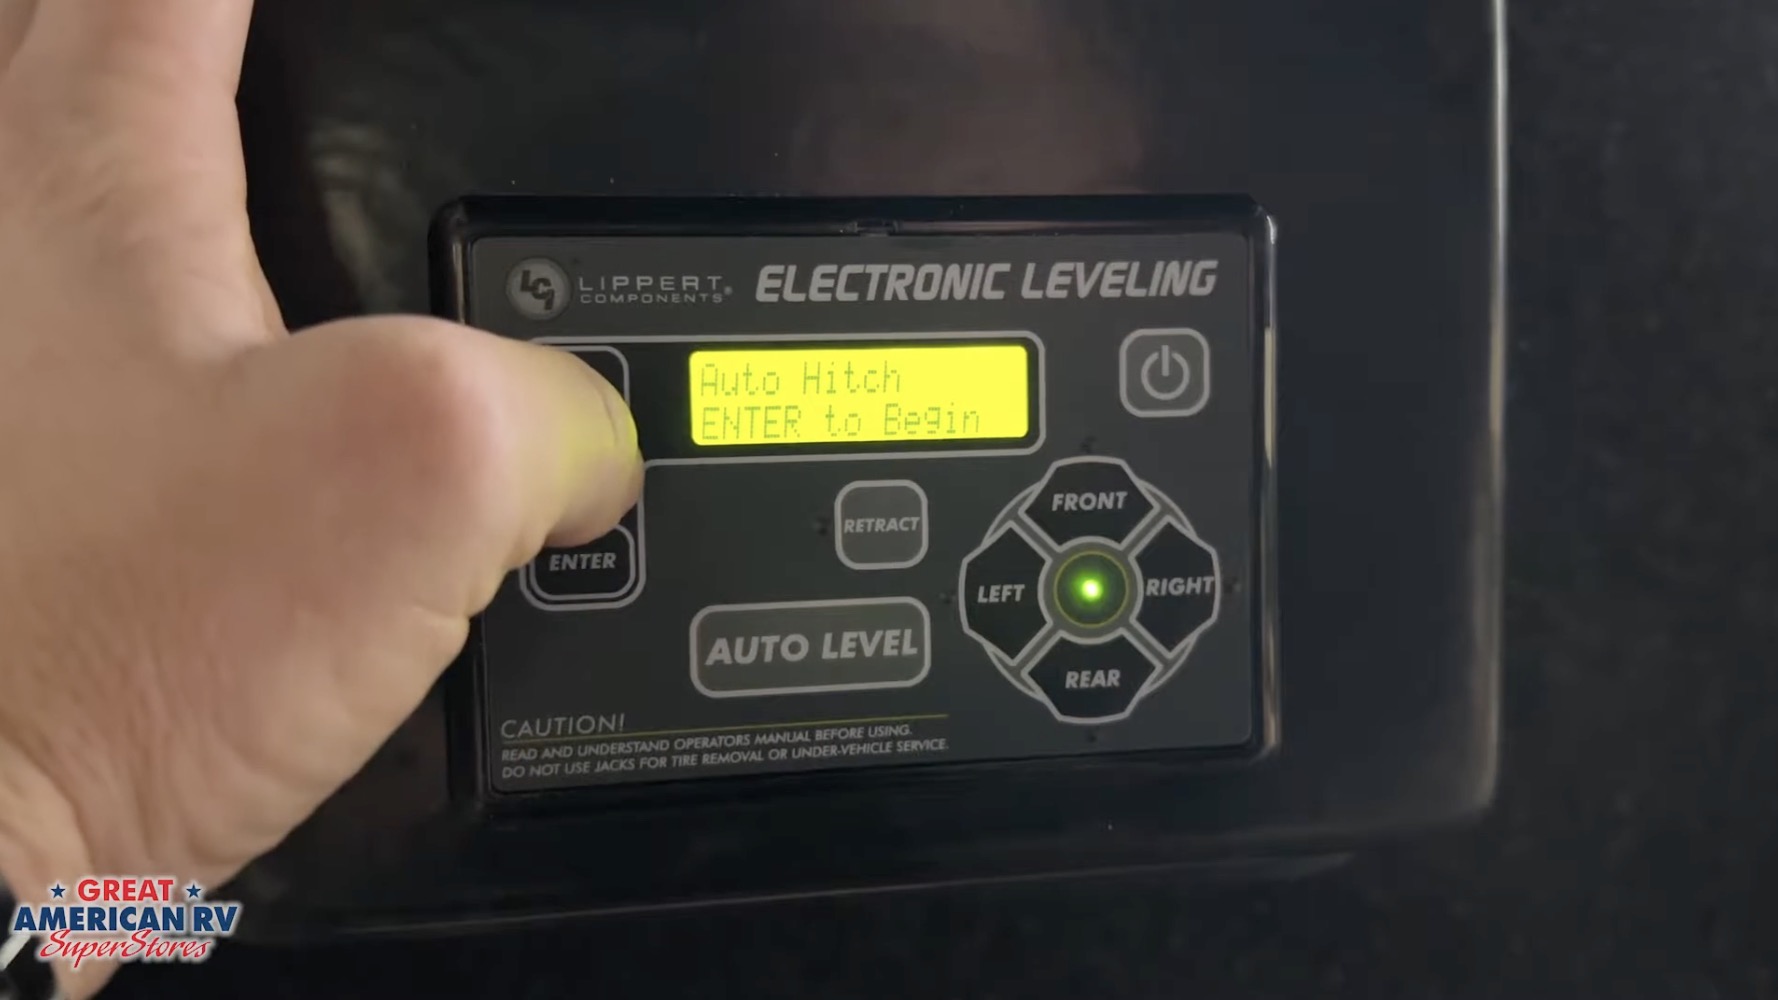
- Keypad — Rectangular panel with Power, Auto Level, All Retract, manual buttons, and indicator lights.
- Sensors — Internal level sensor detects pitch/roll; sends data to controller.
Power comes from the RV’s 12-volt house batteries. The pump runs on 12V DC, drawing significant amps (50–100A during operation), so strong battery voltage is essential. In 2026 models, many include improved pump efficiency and better sensor accuracy for faster, quieter operation. The system is designed for heavy-duty use, supporting rigs up to 40,000+ pounds GVWR, and is known for its durability in rugged conditions.
Getting to Know Your Equalizer Keypad
On power-up, the keypad lights up along the left side. Key buttons and indicators:
Power Button Turns system on/off. Auto Level Button Starts automatic leveling process. All Retract Button Retracts all jacks at once. Manual Buttons Directional arrows for individual jack control. Indicator Lights Show jack position, warnings, and status.
Main alerts:
- Operating Light System active, jacks moving.
- Low Voltage Low battery power — plug in or charge batteries.
- Excessive Slope Out of jack travel — ground too uneven.
- Ignition On Vehicle ignition still on — turn off before leveling.
- Park Brake Park brake not set — engage before operation.
Jack position lights (Front Left, Front Right, Rear Left, Rear Right) illuminate red when jacks are extending/retracting. These lights are your real-time feedback — watch them closely during operation.
Running the Auto Level Function
Standard sequence after parking:
- Park on reasonably level spot, set park brake, turn ignition off.
- Turn system Power on.
- Press Auto Level → confirm (usually Enter or hold button).
- Listen for pump; watch red jack lights — system deploys jacks, levels automatically (1–5 minutes).
- Completion — pump stops, lights extinguish or show steady green. Display may confirm “Level.”
Important: Do not walk inside, open slides, or bounce RV during auto level — movement confuses sensor. Many owners report that even small shifts (like closing a cabinet) can cause the system to misread and over-extend or under-extend a jack.
Manual Leveling: Full Control When Needed
For fine-tuning or if auto fails:
- Power on.
- Use directional arrows to extend/retract individual jacks.
- Watch level bubble (if equipped) or use 4-ft level inside RV.
- Goal: zero degrees pitch and roll.
- Retract: Press All Retract or manual retract buttons.
Use manual after auto if slight adjustment needed, especially on sloped sites where auto might prioritize one side over the other.
Auto Retract: Packing Up Safely
- Turn Power on.
- Wait for lights to stabilize.
- Press All Retract — all jacks retract together.
- Pump runs until fully retracted; system auto-shuts off.
Before retracting, ensure hitch is connected and locked (fifth wheel kingpin or travel trailer coupler). Retract fully before driving — extended jacks can cause severe damage or loss of control on the road.
Setting Orientation (Reprogramming Panel Layout)
Required after keypad replacement, relocation, or zero point reset:
- Turn system off.
- Hold All Retract + Power until beeping.
- Use directional buttons to indicate mounting orientation (e.g., Right + Down for flat dash, Front + Up for vertical wall).
- Confirm — system saves layout.
Skipping this after recalibration causes incorrect readings and erratic behavior.
Setting the Zero Point (Level Calibration) — Full Procedure
If leveling drifts or feels off:
- Park on known level surface.
- Turn Power on.
- Manually extend/retract jacks using arrows until 4-ft level shows perfect level (front-back and side-to-side).
- Turn system off.
- Hold Auto Level + Power for 4–5 seconds — tone confirms zero point set.
- Critical Final Step: Turn off ignition, turn off touchpad, hold Auto Level while pressing Power until multiple beeps, then turn ignition back on.
This ignition reset allows the module to store new values. Skipping it often causes persistent inaccuracy, even if the initial tone sounds.
Hydraulic Fluid and Maintenance
Check fluid only when jacks fully retracted:
- Locate reservoir (front or side compartment).
- Remove dipstick.
- Fluid should be within marked range (not overfilled).
- Top off with Equalizer-approved hydraulic fluid (usually Dexron III or equivalent) if low.
- Wipe dipstick clean, reinsert, check again.
Maintenance:
- Inspect hoses for leaks/cracks annually.
- Keep reservoir clean and vented.
- Lubricate jack pivot points lightly.
- Check battery voltage before use — low power strains pump.
- Flush system every 3–5 years if fluid darkens (professional service).
- Clean keypad and connections to prevent moisture ingress.
Electrical Checks and Troubleshooting
Common issues:
- No response — Low voltage, blown fuse (main 100–150A near battery, inline 30A at pump), bad solenoid click (test 12V at motor).
- Weak/slow jacks — Low fluid, weak batteries, air in lines.
- Uneven leveling — Needs zero point recalibration.
- Excessive Slope — Add blocks or relocate.
Quick checks:
- Measure battery voltage at pump solenoid (12V+).
- Test inline fuses near controller.
- Listen for solenoid click on activation.
Safety Tips and Best Practices
- Always set park brake and turn ignition off before leveling.
- Do not level with slides out — weight shift can cause instability.
- Never stand under jacks — hydraulic failure risk.
- Use blocks on soft ground to prevent sinking.
- Retract fully before driving — jacks can cause damage if extended.
- Keep children and pets clear during operation.
Expanded Frequently Asked Questions
How long does Auto Level take? 1–5 minutes depending on starting position and terrain.
Why won’t jacks retract? Low voltage, blown retract fuse, stuck solenoid — check power first.
Do I recalibrate after every trip? No — only if leveling drifts or after battery work.
What fluid type? Dexron III ATF or Equalizer-specified hydraulic fluid.
Ignition must be off? Yes — system won’t operate if ignition on (safety interlock).
Out of stroke or excessive slope? Ground too uneven — use blocks under low jacks.
Can I run system on generator only? Yes if batteries charged; generator powers converter.
How often check fluid? Annually or if jacks slow.
Motor/pump replacement cost? $800–$1,500 parts + labor.
Best way to store RV? Retract jacks fully, disconnect battery, maintain charge.
Why does system beep but no movement? Low voltage or air in lines — bleed system or charge batteries.
Can I add extra jacks? Possible but requires professional installation and matching pump capacity.
What if one jack leaks fluid? Immediate service — hydraulic leak can damage pump.
How to bleed air from system? Professional procedure — involves cycling jacks with reservoir open.
Is Equalizer better than other brands? Reliable and common; Lippert Ground Control similar but different keypad.
What if jacks creep after retracting? Air in lines or leaking seal — service required.
Can I level on gravel? Yes, but use wide blocks to prevent sinking.
Why does one jack extend slower? Low fluid, air pocket, or weak pump — check fluid and bleed.
The Bottom Line
The Equalizer hydraulic leveling system is dependable when used correctly: ensure strong battery voltage, check fluid, use Auto Level without movement, recalibrate zero point with full ignition reset, and maintain jacks. Avoid common pitfalls like low power or skipped steps, and your RV will level smoothly every time.
By mastering these procedures:
- Start with power and fluid checks.
- Use Auto Level confidently.
- Recalibrate when needed.
- Maintain annually.
You’ll set up faster, stay stable, and enjoy camp more.
Watch the Full Video Walkthrough See everything demonstrated step-by-step in our How to Use and Troubleshoot the Equalizer Hydraulic Leveling System video from the service team. Find it on the Great American RV SuperStores YouTube channel in the Hap’s Helpful Hacks playlist.
At Great American RV SuperStores, we don’t just sell RVs we help you understand how to use them. We’re making memories one weekend at a time. 🚐
*This content is not a legal standard or regulation, and does not create any new legal obligation. It is advisory in nature, informational in content, and is intended to assist and educate consumers in the use and enjoyment of their recreational vehicles. Great American RV SuperStores does not hereby make any warranty, express or implied, and does not assume any liability with respect to the use of, or damages resulting from the use of any information, method or process included in this content.
Recent Comments