Understanding Dometic RV Water Heaters: Operation, Safety, and Maintenance
Hot water is one of the true comforts of RV living — whether you’re rinsing off after a long hike, washing dishes after a big meal, or enjoying a warm shower at the end of the day. Dometic water heaters are among the most trusted and widely installed systems in travel trailers, fifth wheels, toy haulers, Class C motorhomes, and many Class A units. They come in several configurations: propane-only models, combination propane/electric models, tank-style units (6, 10, or 12 gallons), and even some tankless/on-demand options in newer 2026 builds. While the technology is straightforward, many owners find themselves dealing with cold showers, slow recovery, ignition failures, or unexpected leaks simply because they don’t fully understand how the system operates or what basic maintenance prevents most problems.
This comprehensive guide covers everything you need to know about Dometic RV water heaters in 2026: how they work (propane, electric, and combination modes), key exterior and interior components, safety priorities (CO detectors, propane leak checks, pressure relief valve function), step-by-step operation (lighting, temperature adjustment, mode switching), routine maintenance (annual flushing, burner cleaning, anode rod inspection, sealant checks), troubleshooting common issues (no ignition, slow recovery, pilot outage, electric element failure), electrical and propane diagnostics, winterizing procedures, storage tips, off-grid performance considerations, upgrade options (tankless conversions, higher-capacity tanks), and an expanded FAQ section based on real owner experiences and service bay feedback. Proper operation, annual maintenance, and prompt attention to small issues keep your Dometic water heater reliable and safe for years.
At Great American RV SuperStores, we service Dometic water heaters almost daily. The most common complaints we hear are “no hot water,” “it won’t ignite,” “water heater drips constantly,” or “electric mode stopped working.” Nine times out of ten, these trace back to simple, preventable causes: air in propane lines, tripped breakers, sediment buildup from skipped flushing, expired anode rods, low 12V power to the control board, or improper winterizing. Once you understand the system and follow a few basic routines, most of these issues become easy to avoid or fix yourself.
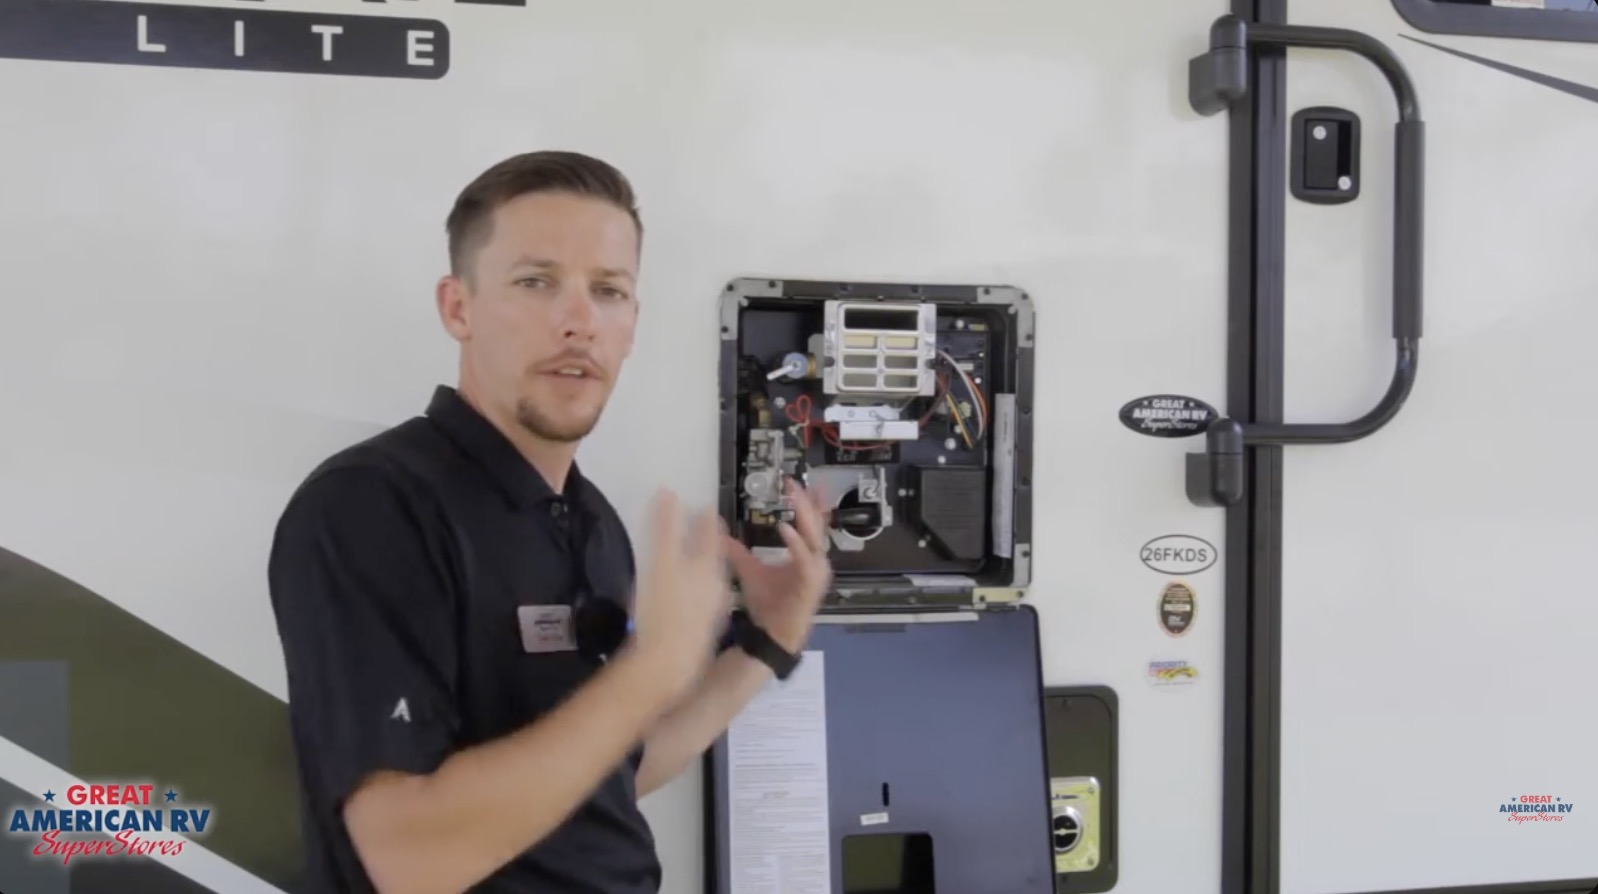
Hey Happy Campers! Todd here with Great American RV SuperStores.
Today we’re going in-depth on Dometic RV water heaters — how propane and electric modes work, key safety features every owner must know, step-by-step operation (lighting, temperature control, mode switching), annual maintenance (flushing, burner cleaning, anode rod replacement, sealant inspection), troubleshooting common failures (no ignition, slow recovery, pilot outage, electric element issues), electrical and propane diagnostics, winterizing and storage procedures, off-grid performance tips, upgrade options (tankless conversions, larger tanks), and answers to the questions we hear most often from owners in 2026.
If you’d prefer a step-by-step visual demo, check out the full walkthrough on the Great American RV SuperStores YouTube channel in our Hap’s Helpful Hacks playlist.
Let’s make sure you always have hot water — safely and reliably — every trip!
How Dometic RV Water Heaters Work: Propane, Electric, and Combination Modes
Dometic water heaters heat water stored in an insulated tank (typically 6, 10, or 12 gallons) using one or both of two energy sources: propane (gas burner) or 120-volt AC electricity (heating element).
Propane Mode (Gas Operation)
- Gas valve opens → propane flows to burner tube.
- Spark igniter (DSI – Direct Spark Ignition) creates clicking → ignites burner.
- Blue flame heats water in tank.
- ECO (Energy Cut-Off) and thermostat regulate temperature and provide overheat protection.
- You hear jet-like sound during operation; hot exhaust exits through side vent.
Electric Mode (120V Heating Element)
- 120V power heats element inside tank (usually 1440W).
- Thermostat cycles element on/off to maintain set temperature.
- Electric mode is slower to heat but silent and odor-free — ideal for campgrounds with hookups.
Combination Models (Propane + Electric)
- Both modes available — switch via control panel or switch.
- Many owners use electric when plugged in (saves propane) and propane off-grid.
- Some models allow simultaneous use for fastest recovery.
All modes rely on 12V DC for the control board and igniter — low battery voltage can prevent ignition or cause lockout.
Key Safety Priorities Before Operation
Safety must come first with any propane appliance:
- Test CO and Smoke Detectors — Press test button; loud alarm confirms operation. Replace batteries annually.
- Annual Propane Leak Test — Professional inspection recommended — checks lines, regulator, connections.
- Never Use Water Heater if You Smell Gas — Shut off propane tanks, ventilate, do not ignite anything.
- Pressure Relief Valve — Opens at 150 PSI or 210°F — drips occasionally normal (thermal expansion); constant drip may need air pocket restored (see below).
- ECO and Thermal Cutoff — Overheat protection — if tripped, reset or service required.
Exterior Components and Their Functions
Access panel (outside RV) reveals:
- Pressure Relief Valve — Safety device; drips if air pocket lost — restore by draining tank slightly.
- Gas Valve — Controls propane flow; igniter clicks when activated.
- Burner Tube/Exhaust — Blue flame burns here; hot exhaust exits.
- Electric Element Access (combo models) — 120V element inside tank.
- Drain Plug — Bottom of tank — used for flushing sediment.
Operation Step-by-Step
Lighting Propane Mode:
- Ensure propane tanks full, valves open.
- Turn water heater switch ON (interior panel).
- Hear igniter clicking → burner lights (steady blue flame).
- If no ignition after 3–4 tries → lockout; turn switch OFF 30 seconds, then ON to retry.
- Purge air if needed — light stove burners first for steady flame.
Electric Mode (Combo Models):
- Plug into 120V shore power or run generator.
- Turn electric switch ON (separate from gas switch).
- Element heats water — no flame or sound.
Temperature Adjustment:
- Interior control knob or digital panel — usually 120–140°F range.
- Higher temp = faster hot water but higher scald risk.
Restoring Air Pocket (If Relief Valve Drips):
- Turn off water supply.
- Open hot water faucet inside.
- Drain tank slightly (1–2 gallons).
- Close faucet, restore water supply — air pocket re-forms.
Routine Maintenance: Annual Checklist
- Flush Tank — Drain sediment yearly (use wand for thorough clean) — prevents corrosion, improves efficiency.
- Inspect/Clean Burner Tube — Remove debris, spider webs, insect nests — restricted airflow causes soot, poor ignition.
- Check Anode Rod — Sacrificial rod protects tank — inspect annually; replace when >75% consumed.
- Exterior Sealant — Inspect around access panel — re-caulk if cracked to prevent water intrusion.
- Bug Screens — If installed, check/clean — remove if airflow restricted.
- Pressure Relief Valve — Test annually (lift lever briefly — water should discharge).
- 12V Power — Control board needs 12V — check fuse, battery voltage.
Troubleshooting Common Problems
No Hot Water (Propane Mode):
- Tanks empty or valves off.
- Air in lines — purge via stove burners.
- Igniter not clicking — low 12V, bad electrode, faulty board.
- Lockout — cycle switch off/on.
- ECO tripped — reset or service.
Electric Mode Not Working:
- No 120V — check pedestal breaker, RV breaker, cord.
- Low 12V — control board needs power.
- Element failed — test continuity (professional).
Slow Recovery:
- Sediment buildup — flush tank.
- Low propane pressure — check regulator.
- Heavy use — limit simultaneous hot water demand.
Relief Valve Constant Drip:
- Restore air pocket (drain slightly).
- Faulty valve — replace.
Sulfur/Rotten Egg Smell:
- Bacteria reacting with anode rod — flush tank, replace anode with aluminum/zinc rod.
Winterizing and Storage Procedures
- Turn off water heater (both switches).
- Drain tank completely (remove anode rod for better drain).
- Bypass water heater (if equipped) or leave valves open to prevent antifreeze in tank.
- Flush lines with RV antifreeze if winterizing entire system.
- Clean burner/exhaust area — prevent insect nests.
Off-Grid Performance and Battery Considerations
- Propane mode — no 12V draw beyond control board (~0.1A).
- Electric mode — 12–15A draw — not practical off-grid without large inverter.
- Use propane off-grid; electric when plugged in to save fuel.
Upgrade Considerations for 2026
- Tankless/on-demand models — faster recovery, endless hot water.
- Higher-capacity tanks (12–16 gal) — better for large families.
- All-electric models — silent, no propane smell.
- Anode rod upgrade — powered anode eliminates smell.
Expanded Frequently Asked Questions
How often flush tank? Annually — prevents sediment/corrosion.
Why sulfur smell? Bacteria + anode rod — flush, replace with aluminum/zinc.
Relief valve drips constantly? Restore air pocket or replace valve.
No ignition clicking? Low 12V, bad electrode, faulty board.
Electric mode not heating? Check 120V breaker, element continuity.
How long should hot water last? 6-gal: 2–3 showers; 10-gal: 4–5.
Can I use both propane and electric? Yes on combo models — fastest recovery.
Why water heater lockout? Failed ignition — cycle switch off/on.
Best anode rod type? Aluminum/zinc for smell prevention.
Can I add electric element to propane-only? Yes — conversion kit available.
Why hot water slow in cold weather? Longer recovery — use both modes if combo.
The Bottom Line
Dometic RV water heaters are reliable when operated correctly and maintained annually: flush tank, clean burner, replace anode rod, inspect sealant, ensure strong 12V and propane supply. Most issues (no ignition, slow recovery, smell, dripping valve) are preventable with basic care.
By following these steps:
- Flush and inspect annually.
- Purge air via stove.
- Maintain 12V power.
- Use both modes on combo units.
You’ll enjoy consistent hot water safely every trip.
Watch the Full Video Walkthrough See everything demonstrated step-by-step in our Understanding Dometic RV Water Heaters video from the service team. Find it on the Great American RV SuperStores YouTube channel in the Hap’s Helpful Hacks playlist.
At Great American RV SuperStores, we don’t just sell RVs we help you understand how to use them. We’re making memories one weekend at a time. 🚐
*This content is not a legal standard or regulation, and does not create any new legal obligation. It is advisory in nature, informational in content, and is intended to assist and educate consumers in the use and enjoyment of their recreational vehicles. Great American RV SuperStores does not hereby make any warranty, express or implied, and does not assume any liability with respect to the use of, or damages resulting from the use of any information, method or process included in this content.
Recent Comments