Understanding the RV Converter: What It Is, What It Does, and How to Keep It Working
The RV converter is one of the most important — and most misunderstood — electrical components in any towable RV, including travel trailers, fifth wheels, toy haulers, and destination trailers. Many owners don’t even realize it exists until something goes wrong: lights dim when plugged in, the water pump slows to a trickle, slides move sluggishly, the furnace blower won’t start, or the battery voltage stays low even after days on shore power. These are classic signs the converter isn’t doing its job — and in most cases, it’s one of the first places to look when 12-volt systems act strangely while the RV is connected to 110-volt AC power.
At its core, the converter is simply a battery charger and a 12-volt power supply rolled into one. It takes 110–120-volt AC power from shore, a generator, or an inverter and converts it to 12–14.4-volt DC power to run all the 12-volt systems in the coach and simultaneously charge the house batteries. When it works properly, you rarely notice it. When it fails or underperforms, nearly every DC-powered component in the RV suffers — from lights and fans to control boards, pumps, and slide motors.
This comprehensive guide explains exactly what an RV converter does, how it works, where to find it, how to test whether it’s charging correctly, common failure symptoms, step-by-step troubleshooting, fuse and breaker checks, converter types (single-stage vs multi-stage), upgrading to modern units (especially for lithium batteries), maintenance best practices, off-grid considerations, safety tips, and an expanded FAQ section based on real owner questions and service bay feedback in 2026. Understanding your converter will save you time, frustration, unnecessary service calls, and potentially your entire camping trip.
At Great American RV SuperStores, we diagnose converter-related issues almost daily. Most problems boil down to low voltage output, blown fuses, poor battery connections, outdated single-stage converters struggling with lithium batteries, or simple overlooked breakers. Once you know what to check and how, you can often resolve these yourself in minutes.
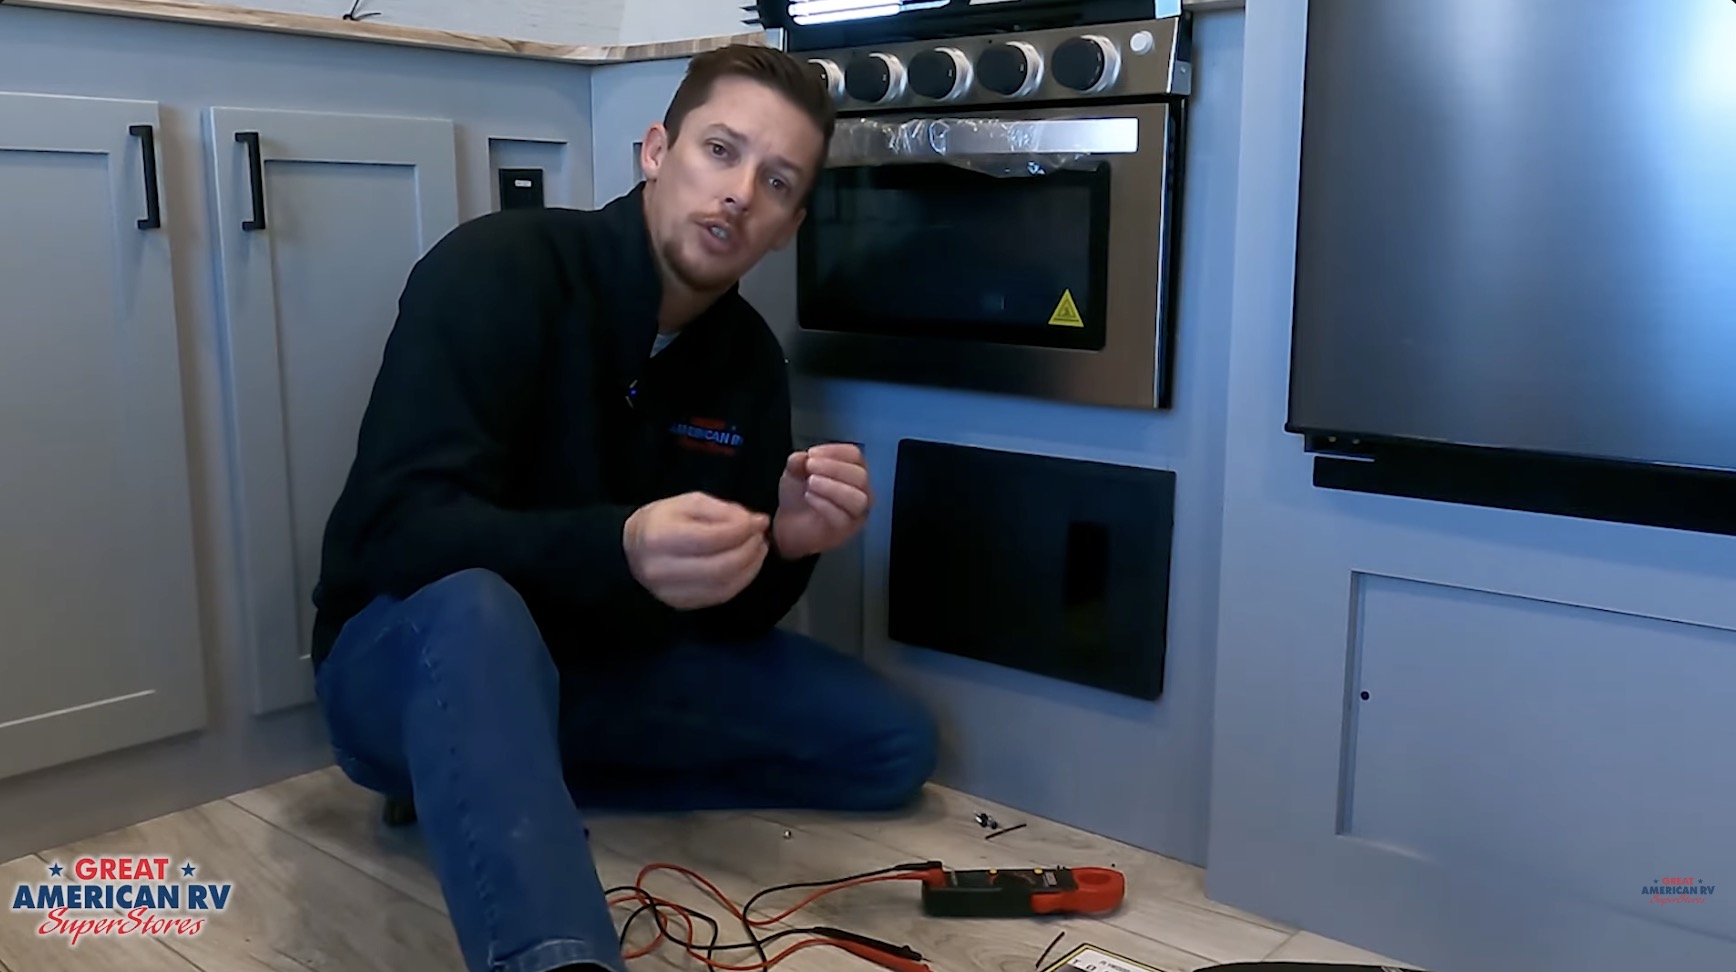
Hey Happy Campers! Todd here with Great American RV SuperStores.
Today we’re taking a deep dive into the RV converter — what it really is, how it supplies 12-volt power and charges batteries, where to find it, how to test it with a multimeter, common symptoms of failure, step-by-step troubleshooting, fuse and breaker locations, differences between single-stage and multi-stage converters, upgrading for lithium batteries, preventive maintenance, safety considerations, off-grid workarounds, and answers to the questions we hear most often from owners in 2026.
If you’d prefer a step-by-step visual demo, check out the full walkthrough on the Great American RV YouTube channel in our Hap’s Helpful Hacks playlist.
Let’s make sure your converter is doing its job so your 12-volt systems run strong!
What the Converter Actually Does (Two Jobs in One Unit)
Every 12-volt system in your towable RV ultimately traces back to the house batteries: interior lights, water pump, furnace blower and control board, refrigerator control board (gas/electric models), slide-out motors, awning motors, tank monitors, USB ports, and more. Those batteries must stay charged for everything to work correctly — and that’s where the converter comes in.
When the RV is connected to 110–120-volt AC power (shore pedestal, generator, or inverter), the converter performs two simultaneous jobs:
- Supplies 12-volt DC power directly to the coach — It converts incoming AC to DC and powers all 12-volt loads in real time, bypassing the batteries for most operation.
- Charges the house batteries — It provides a controlled charging voltage (typically 13.2–14.4V) to bring batteries back to full charge and maintain them while plugged in.
When you’re not plugged in (boondocking or dry camping), the converter does nothing — the batteries alone power the 12-volt systems until they deplete. No AC power = no charging.
Where Converters Are Usually Located
Converters can be mounted in several places depending on the RV manufacturer and model year:
- Behind or attached to the main breaker panel (most common).
- Under the breaker panel behind a vented access grille.
- In a pass-through storage compartment (near front or side).
- Behind a removable wall panel near the electrical center.
- In a dedicated cabinet (often labeled or near the battery compartment).
Look for:
- A metal or plastic box with cooling vents/fan.
- A small fan that runs when charging (audible clue).
- Multiple 12V output wires and fuses.
- A 110V input cord or hardwired connection.
If you can’t find it, check your RV’s owner’s manual or contact the manufacturer with the last eight digits of your VIN — they can provide the exact location.
How to Confirm the Converter Is Charging (Multimeter Test)
The most reliable way to test a converter is with a multimeter — no guesswork.
- Plug RV into shore power (or run generator).
- Set multimeter to DC Volts (20V range).
- Place probes on battery terminals (red to positive, black to negative).
- Expected readings:
- 13.5–14.4V = converter is charging properly (bulk/absorption phase).
- 13.2–13.6V = float/maintenance mode (batteries full).
- 12.0–12.6V = no charging (converter not outputting or batteries disconnected).
If voltage stays ~12V or lower while plugged in, the converter isn’t charging — proceed to troubleshooting.
Alternative test points:
- Converter output terminals (if accessible).
- 12V fuse panel input — should match battery voltage when charging.
Common Signs of a Converter Problem
- Lights dim or flicker when plugged in (converter should brighten them).
- Battery voltage stays low (12.0–12.6V) after days on shore power.
- 12V systems slow (pump weak, slides sluggish, furnace blower weak).
- Batteries not holding charge when unplugged.
- Converter fan runs constantly or not at all.
- Warm or hot converter case with no output.
First Things to Check Before Blaming the Converter
Many “converter failure” calls are actually simple issues:
- Verify Shore Power — Pedestal breaker on? Cord fully plugged? No tripped pedestal GFCI?
- Main Breaker Panel — Check dedicated converter breaker (often 30A double-pole or single 30A). Reset if tripped.
- Battery Connections — Clean/tight terminals; no corrosion.
- Battery Disconnect Switch — Must be ON for converter to charge.
- Converter Fuses — Inline protection fuses on output side — blown fuse = no charging.
- Voltage at Converter Output — If accessible, test directly (13.5–14.4V expected).
Converter Types: Single-Stage vs Multi-Stage (and Lithium Considerations)
- Single-Stage (older models) — Fixed 13.6V output. Works for flooded/AGM but undercharges lithium (lithium needs 14.2–14.6V bulk).
- Multi-Stage (modern, 2025–2026) — Bulk (14.4V fast charge), Absorption (top-off), Float (maintenance). Better for all battery types.
- Lithium-Compatible — Full lithium profile (14.4–14.6V bulk, no equalization). Upgrade needed for lithium conversions.
If you have lithium batteries and an older converter, charging may stop at ~80% — add a lithium-compatible module (Progressive Dynamics, WFCO) or replace the converter.
Troubleshooting Step-by-Step
- No 120V at converter — Check shore cord, pedestal breaker, RV main breaker.
- 120V present but no 12V output — Check converter breaker, output fuses, internal fuse (on board).
- Voltage low (13V or less) — Failing converter, bad battery connection, or overloaded DC system.
- Converter hot/fan running constantly — Overload or internal fault — service required.
- Intermittent charging — Loose wiring, corroded terminals, bad relay.
Use multimeter at every step — voltage tells the story.
Preventive Maintenance Tips
- Check voltage monthly — 13.5–14.4V on shore power.
- Clean battery terminals — corrosion kills charging.
- Inspect converter vents/fan — dust reduces cooling.
- Test converter output annually.
- Upgrade to multi-stage/lithium-compatible if needed.
- Use battery maintainer in storage — prevents sulfation.
Safety Considerations
- Disconnect all power before accessing converter.
- Never bypass fuses or breakers.
- Avoid water near converter — risk of shorts.
- Use surge protector at pedestal — protects against spikes.
- Monitor total load — high-draw appliances + converter can overload.
Expanded Frequently Asked Questions
Why are lights dim when plugged in? Converter not outputting enough voltage — test output.
Battery not charging on shore power? Check converter breaker, fuses, connections, voltage.
Converter fan runs constantly? Overload, bad battery, or failing unit — check voltage/load.
Can I run converter on inverter? Yes — if inverter large enough (2000W+).
How to tell if converter is multi-stage? Voltage varies: 14.4V bulk, 13.6V absorption, 13.2V float.
Lithium batteries not reaching 100%? Older converter — upgrade to lithium profile.
What fuse size for converter? 30A typical — check label.
Converter hot to touch? Normal during heavy charge; excessive = problem.
Can I replace converter myself? Yes if comfortable with wiring; match specs.
Best converter for lithium? Progressive Dynamics PD9100L series, WFCO lithium-compatible.
Why voltage drops when using slides/pump? Converter overloaded — reduce loads or upgrade.
The Bottom Line
An RV converter is a built-in battery charger and 12-volt power supply — when plugged in, it powers DC systems and charges batteries. Test with multimeter (13.5–14.4V expected), check fuses/breakers first, maintain voltage, and upgrade for lithium if needed. Most “converter failures” are simple fixes.
By understanding:
- It converts 110V to 12V and charges batteries.
- Test voltage to confirm operation.
- Check fuses, breakers, connections first.
- Upgrade for modern batteries.
You’ll keep your 12-volt systems strong and avoid frustration on every trip.
Watch the Full Video Walkthrough See everything demonstrated step-by-step in our Understanding the RV Converter video from the service team. Find it on the Great American RV SuperStores YouTube channel in the Hap’s Helpful Hacks playlist.
At Great American RV SuperStores, we don’t just sell RVs we help you understand how to use them. We’re making memories one weekend at a time. 🚐
*This content is not a legal standard or regulation, and does not create any new legal obligation. It is advisory in nature, informational in content, and is intended to assist and educate consumers in the use and enjoyment of their recreational vehicles. Great American RV SuperStores does not hereby make any warranty, express or implied, and does not assume any liability with respect to the use of, or damages resulting from the use of any information, method or process included in this content.
Recent Comments